

Padel Lead Tape Guide: Tune Your Racket’s Weight and Feel

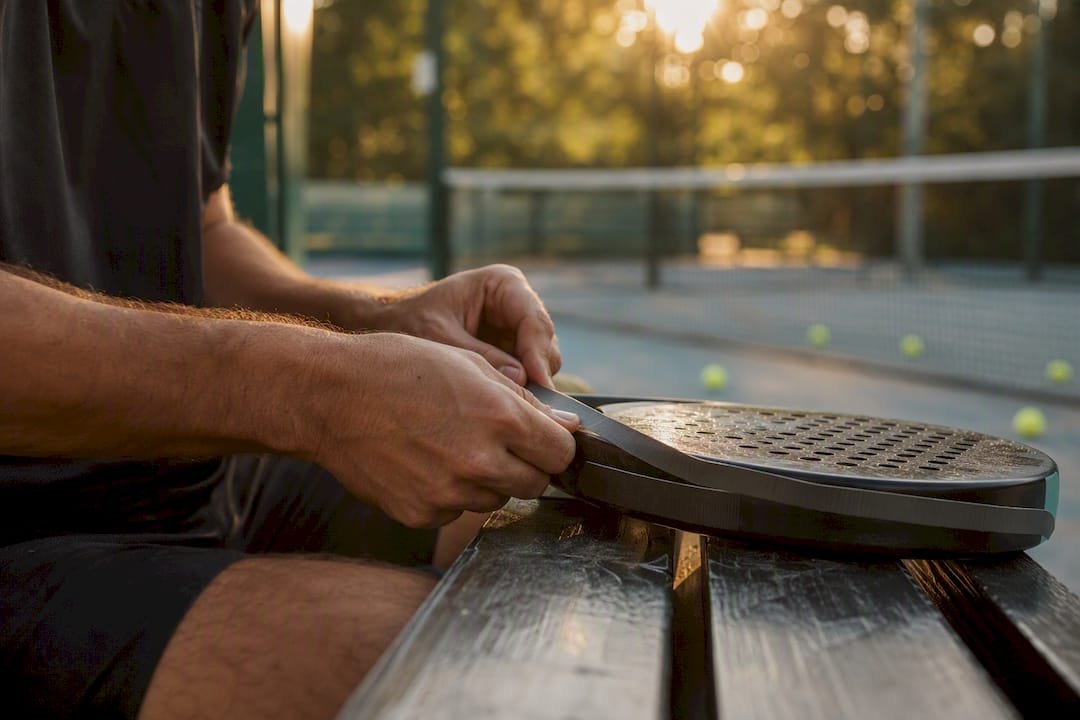
Lead tape changes three things on a padel racket: total weight, balance point, and swing weight. Add strips at the top of the head and you get more power but less control; add them near the handle and the racket gets lighter in feel and quicker to swing. Start with 1 to 3 grams, then hit the court for 30 to 60 minutes before you touch it again.
Here’s the fast version:
- Weigh your racket “naked” on a digital scale and write the number down.
- Find the balance point using the finger test (balance it across one finger and mark the spot).
- Add 1 to 2 grams of tape at your chosen spot, press it down firmly, and re-weigh.
- Play a full session before deciding whether to add more.
- Weigh and mark.
- Add a small amount.
- Secure it well.
- Test it on court.
Pro Tip: Keep a simple log, either on your phone or on paper, of every gram you add and where. Two weeks from now, you won’t remember whether that better feel came from 2 grams at 3 o’clock or 3 grams at 9.
For tape, scales, and grips that make this process painless, Padelhip stocks the gear you need to get it right the first time.
Key Takeaways
Lead tape reshapes a padel racket’s power and control by moving its balance point, and the safest path there is small grams tested on court, not a single large change.
| Point | Details |
|---|---|
| Start small | Add 1 to 3 grams per change and test before adding more. |
| Placement drives outcome | 12 o’clock adds power and cuts control; sides add stability; handle adds maneuverability. |
| Measure before and after | Weigh the racket and mark the balance point before and after every change. |
| Test on real shots | Play 30 to 60 minutes across volleys, bandejas, and cross-courts, not just smashes. |
| Buy the right kit | Padelhip carries lead tape, digital scales, and weighted grips to tune a racket safely. |
Table of Contents
- What Does Lead Tape Actually Do to a Padel Racket?
- Where Should You Place Lead Tape on a Padel Racket?
- How Much Lead Tape Should You Add, and How Do You Test It?
- What Tools and Materials Do You Need?
- Is Lead Tape Safe, and Does It Affect Your Warranty?
- How Do You Apply Lead Tape Step by Step?
- What Do Coaches and Pros Actually Do Differently?
- Where to Buy Lead Tape and the Gear to Go With It
- Sources
What Does Lead Tape Actually Do to a Padel Racket?
Three numbers matter here. Total weight is what the racket weighs on a scale, full stop. Balance point is where the racket’s mass centers, measured in centimeters from the butt. Swing weight is how heavy the racket feels while moving, which depends on both the added mass and how far from your hand it sits.
Move weight toward the head and the balance point climbs, swing weight jumps, and you get more pop on smashes and drives. Move it toward the handle and the opposite happens: the racket feels lighter in your hand and reacts faster on volleys, even though total weight goes up either way.
- A 2 to 3 gram addition near the head is often described as adding noticeable pop without feeling like a different racket.
- The same 2 to 3 grams at the handle mostly affects feel and recovery speed, not raw power.
- Total weight changes are small; balance point changes are what you actually notice.
Pro Tip: Weigh and mark your balance point before touching any tape. Without a “before” number, you’re just guessing at what changed.
Where Should You Place Lead Tape on a Padel Racket?
Think of the racket face as a clock. Where you stick the tape determines what you get.
| Placement | Effect | Best suited for |
|---|---|---|
| 12 o’clock (top of head) | Biggest swing-weight and power increase; hardest to control | Players who smash often and already have solid technique |
| 2 and 10 o’clock | Controlled power gain with a smaller handling penalty | Most players testing power for the first time |
| 3 and 9 o’clock (sides) | Better torsional stability, wider sweet spot | Defensive players, volleyers, anyone mishitting off-center |
| Handle / 6 o’clock | Head-light feel, faster recovery between shots | All-court players and anyone prioritizing reaction speed |
The 12 o’clock position adds the most raw power because it moves mass furthest from your hand, but that same distance is what makes the racket sluggish on quick exchanges. Guides on racket balance tuning generally point new users toward 3 and 9 o’clock or the 10/2 positions instead, since side placements build stability without the steep handling trade-off.
If you’re adding weight to the sides, add it symmetrically. Two grams at 3 o’clock without a matching two grams at 9 o’clock introduces torque you’ll feel on every off-center hit, and it’s an easy mistake to make when you’re only thinking about total grams instead of where they sit.
Pro Tip: Skip the big 12 o’clock addition on your first attempt. Start at 3 and 9 o’clock, where the stability gain is easier to feel and the control loss is smaller if you overshoot.
How Much Lead Tape Should You Add, and How Do You Test It?
Beginners should stick to 2 to 3 gram increments per change. Experienced players who already know their preferred setup can move in slightly bigger steps, but “slightly bigger” still means testing before adding more, not doubling up out of impatience.
The measurement routine is simple and takes under five minutes:
- Weigh the racket on a digital scale accurate to 0.1 grams.
- Balance it across one finger to find the current balance point, and mark it with a pencil.
- Record both numbers somewhere you won’t lose them.
- Apply the tape, press it down firmly, and re-weigh.
- Confirm the balance point moved in the direction you expected.
On-court testing matters as much as the measuring. A short warm-up followed by a mix of volleys, bandejas, and cross-court rallies tells you far more than ten smashes in a row, because most of a padel match happens at the net, not at full swing.
- Play at least 30 to 60 minutes before judging a change, ideally across two or three sessions.
- Pay attention to arm and shoulder fatigue, not just shot quality.
- If control drops off or your arm feels off by the end of a session, revert to the previous setup rather than pushing forward.
Guides on custom balance tuning consistently point to the same pattern: small, incremental changes tested over real match conditions beat one large adjustment made on instinct. Log every trial. If you can’t remember what you changed three sessions ago, you can’t tell what’s actually working.
What Tools and Materials Do You Need?
You don’t need much, but the few things you do need matter. A digital kitchen scale accurate to 0.1 grams is non-negotiable, since anything less precise makes 1 to 2 gram changes impossible to track.
- Adhesive lead tape, sold in pre-cut strips or rolls, is the standard tool for this job.
- A 0.1 gram digital scale for weighing before and after each change.
- Scissors and a marker for cutting exact lengths and marking your balance point.
- Clear tape or electrical tape to seal the edges of the lead strip.
- A spare overgrip, since you’ll likely remove the old one during application.
Tungsten tape is a denser alternative that adds the same mass in a thinner strip, useful if you’re worried about bulk under a protector. Weighted butt caps and weighted grips work differently: they shift weight at the handle end permanently rather than in small testable increments, which makes them better for a setup you’ve already dialed in than for experimentation.
Pro Tip: If your racket has a frame protector, apply the lead tape underneath it rather than on bare carbon. It protects the frame finish and keeps the tape from lifting during high-impact shots.
Is Lead Tape Safe, and Does It Affect Your Warranty?
Modifying a racket’s weight moves it away from the manufacturer’s original design intent, which can change how the racket controls and maneuvers compared to stock. It’s one reason beginners are steered toward minimal 1 to 3 gram adjustments rather than larger changes made without guidance.
Manufacturers build swing weight and balance into a racket for a reason, and stacking several grams of tape onto it is a real modification, not a cosmetic one. Check your racket’s warranty terms before making changes larger than a gram or two, since some brands treat physical alterations as grounds to void coverage.
- Heavier swing weight puts more strain on your shoulder and forearm, and that risk compounds over a season, not just one session.
- Stop immediately if you feel pain, notice a drop in control, or feel unusually fatigued mid-session.
- Cover exposed tape edges with electrical tape to prevent adhesive residue and peeling during play.
- For any change larger than roughly 10 grams total, or before making anything permanent, talk to a coach or a racket technician first.
How Do You Apply Lead Tape Step by Step?
Getting the application right matters as much as picking the correct spot. A wrinkled strip or an unsecured edge will peel mid-rally and throw off everything you just measured.
- Remove your current overgrip and clean the frame area where you’ll apply the tape, so dust or grip residue doesn’t stop the adhesive from bonding.
- Weigh the racket and mark your balance point before making any change.
- Cut a measured strip, usually 1 to 2 grams’ worth for a first attempt, and apply it in one smooth motion, pressing from the center outward to avoid air bubbles.
- Smooth every edge down firmly, then cover the strip with clear tape or electrical tape if it isn’t going under a frame protector.
- Re-weigh the racket and re-check the balance point to confirm it moved the way you expected.
- Reinstall your overgrip.
Before your first real match with the new setup, run a short warm-up focused on volleys and overheads specifically, since those are the shots most sensitive to a shifted balance point. Then play your full 30 to 60 minute test session and write down what changed, good or bad.
What Do Coaches and Pros Actually Do Differently?
Small changes matter most in close matches, when you’re fine-tuning volley feel, or when you’ve switched to a new racket shape and need it to feel like your old one. That’s not the moment for a 5 gram experiment.
Pro Tip: Pros tend to favor side placements for stability over top-of-head power, adding grams in tiny increments and often pairing tape changes with grip-thickness adjustments rather than treating either in isolation.
- Watch for these mistakes: adding too much weight too quickly, ignoring fatigue that builds up over weeks rather than one session, and copying a pro’s exact setup instead of testing what actually suits your own swing.
- Professional players treat balance as a tactical choice tied to their role on court, not a fixed formula everyone should copy.
A note on testing patiently
Small, tracked changes beat one big jump almost every time, mostly because a big jump gives you no way to tell which part of it helped and which part hurt. Pairing every tape adjustment with a note on how it felt, and occasionally a coach’s read on your shots, turns guesswork into an actual system.
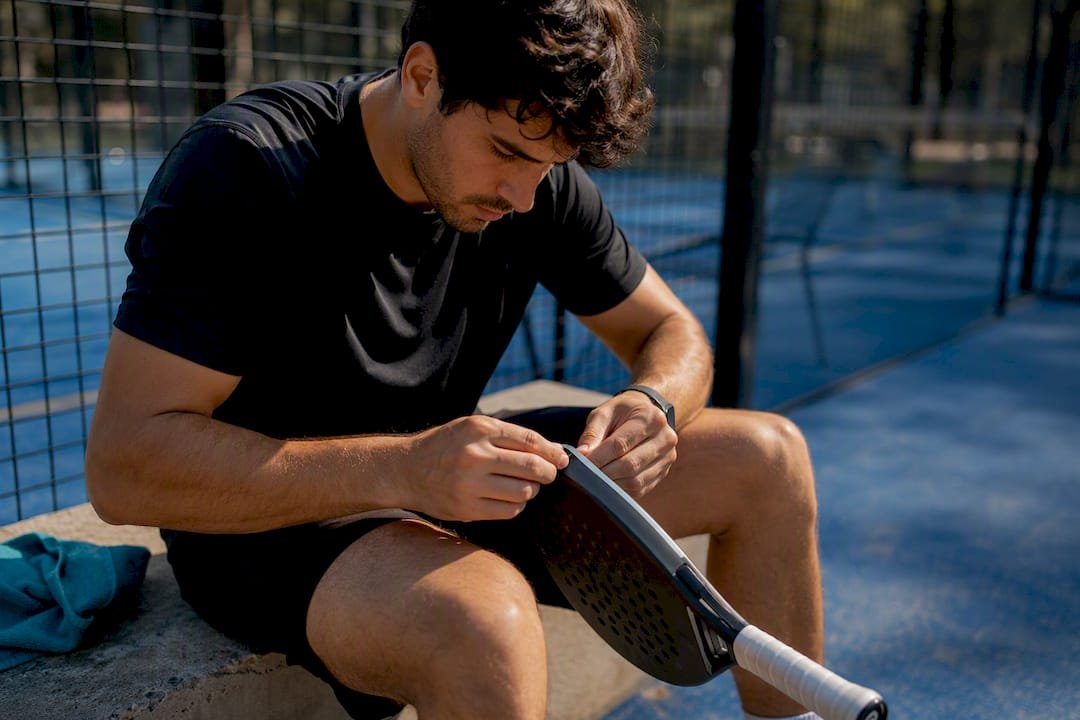
Working with padel gear day to day makes one thing obvious: players who log their changes end up with a racket that fits them, while players who chase a pro’s exact setup usually end up back where they started.
Where to Buy Lead Tape and the Gear to Go With It
Padelhip stocks the tape, scales, and grips you need to run this whole process without piecing supplies together from three different stores. Adhesive lead tape and a 0.1 gram digital scale are the two essentials, and if you’d rather skip tape altogether, tungsten tape and weighted grips are worth a look for a more permanent setup.

A practical starter bundle covers lead tape, clear or electrical tape for sealing edges, and a spare overgrip since you’ll be removing the old one anyway. If you’re shopping for a racket to pair with your new setup rather than modifying an existing one, the Head Speed Motion offers a lightweight teardrop shape that responds well to small handle-side adjustments, while something like the Bullpadel Vertex Advance 26 already leans toward power if that’s the direction you’re tuning in. Every order ships with Padelhip’s authenticity guarantee and easy returns, so testing a setup carries no real risk. Head to the Padelhip store to check current stock on tape and scales, or browse padel racket prices if a fresh racket makes more sense than modifying the one you’ve got.
Sources
- Padel
- The balance point blueprint — SGM Global
- How Lead Tape Affects Racket Performance — AMA Sport
- Master Your Head Padel Racket Balance — ThePadelGang
- How pro players fine-tune their padel rackets — TennisTonic
Recommended
- Head Speed Motion Padel Racket | Lightweight Teardrop Carbon Hybrid Racket for Advanced Control & Power Players 2026 – Your online Padel store- Padel Hip-Premier padel shop
- Choosing the Right Padel Racket Shape: A Complete Guide – Your online Padel store- Padel Hip-Premier padel shop
- Adidas Match Light 2026 Padel Racket – Ultra Lightweight Fiberglass Controll Racquet with Soft EVA Core, Large Sweet Spot, High Comfort Feel and Easy Handling for Beginners – Your online Padel store- Padel Hip-Premier padel shop
- Padel Racket Prices: What to Buy at Every Budget